Did you know that you can navigate the posts by swiping left and right?
OpenWRT/LEDE on TP Link Archer AC1750 C7 v2 Firmware 3.15.1 Build 160616
25 Jul 2017
. category:
wifi
.
Comments
#OpenWRT
#LEDE
#TP Link Archer C7
#LuCI

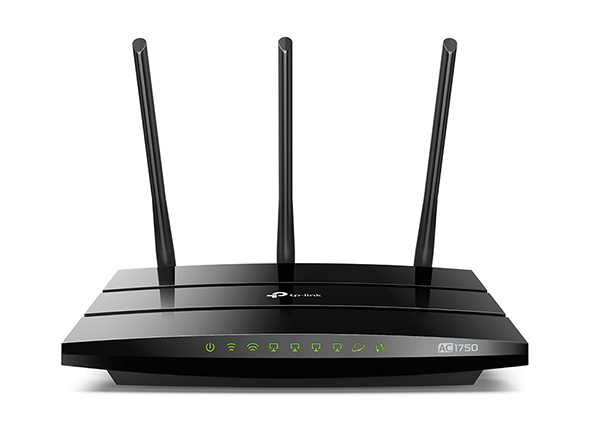
I bought a TP Link Archer C7 half a year ago. I required a faster WiFi connection for my new NAS and the Archer comes with 802.11ac on the 5GHz channel. The setup was working quite well, but the 5GHz network disappeared sometimes and that really annoyed me. Therefore, I decided to install OpenWRT on the router. I struggled a bit with flashing the OpenWRT firmware since TP Link does some checks on the firmware which all firmwares which I found did not pass.
In the following, the process of flashing a valid OpenWRT image is illustrated to the reader. The post is based on information from the DDWRT forum 1.
Please note that this tutorial is only tested with the v2 Firmware 3.15.1 Build 160616.
The problem with the new firmware
According to 2, TP Link performs signature checks on the firmware. There are 2 errors I ran into.
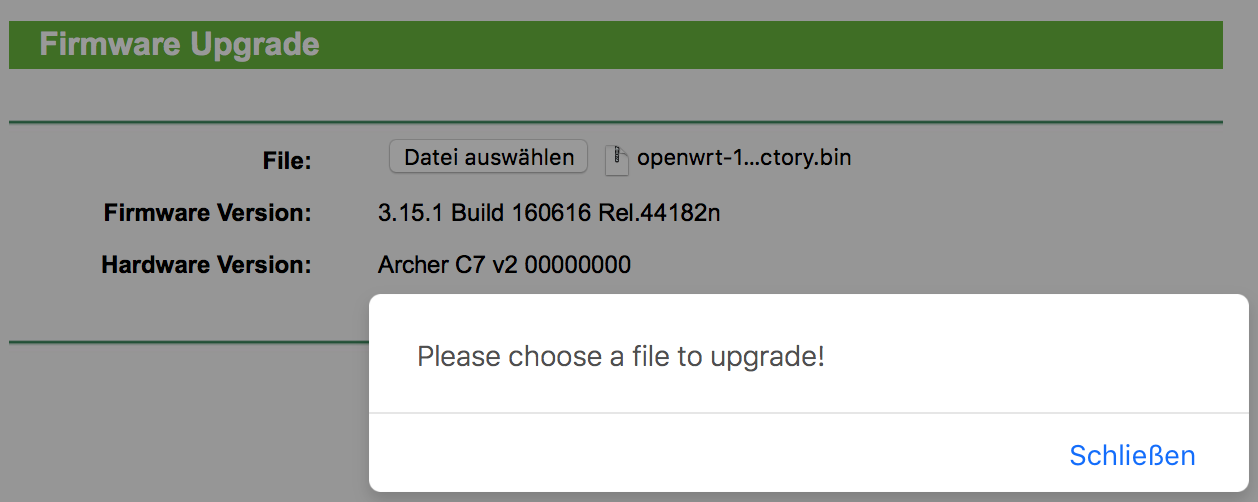
Please choose a file to upgrade
The first is that the filename has to be renamed to something like factory.bin.
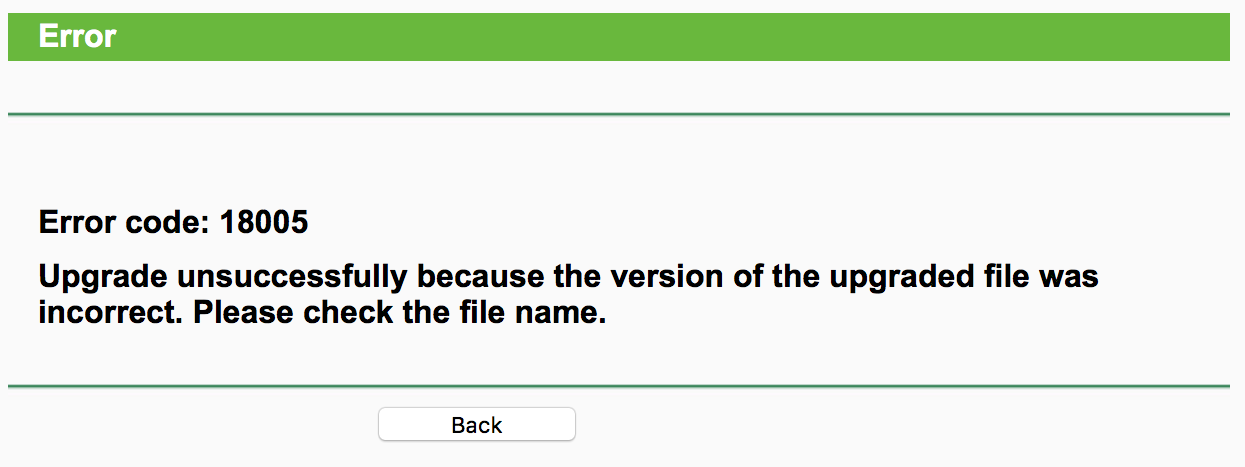
Otherwise, I got the following error:

Error code 18005: Upgrade unsuccessfully because the version of the upgraded file was incorrect. Please check the filename.
If the firmware does not pass the signature check, you will see the following error:

Install LEDE firmware
The proposed workaround by 2 and 1 is to install a firmware which passes signature checks and then to install the actual image (no signature checks anymore). Note that there seem to be different versions of the firmware. I used the eu postfixed version as suggested by 1.
Now download the LEDE firmware from lede-ar71xx-generic-archer-c7-v2-squashfs-factory-eu.bin.
Then go to the UI of your TP Link and go to System Tools -> Firmware Upgrade and select and upload the recently downloaded firmware.
After some time you should be able to access the router at 192.168.1.1:
ssh root@192.168.1.1
Note that there is no LuCI installed yet and WiFi should be disabled too.
Install LuCI
To get LuCI working, you can connect the TP Link router to the internet and install the packages with opkg:
opkg update
opkg install luci-ssl
Perform a sysupgrade
Now that the installed a factory firmware, we can proceed by installing any other sysupgrade firmware.
For example for LEDE 17.01.2, you just need to download the firmware and perform a sysupgrade either via the shell or via LuCI.
Shell
scp <firmware> root@192.168.1.1:/tmp/
ssh root@192.168.1.1
cd /tmp/
sysupgrade -n <image>
LuCI
Go to System->Backup / Flash Firmware, choose the firmware and press Flash image.
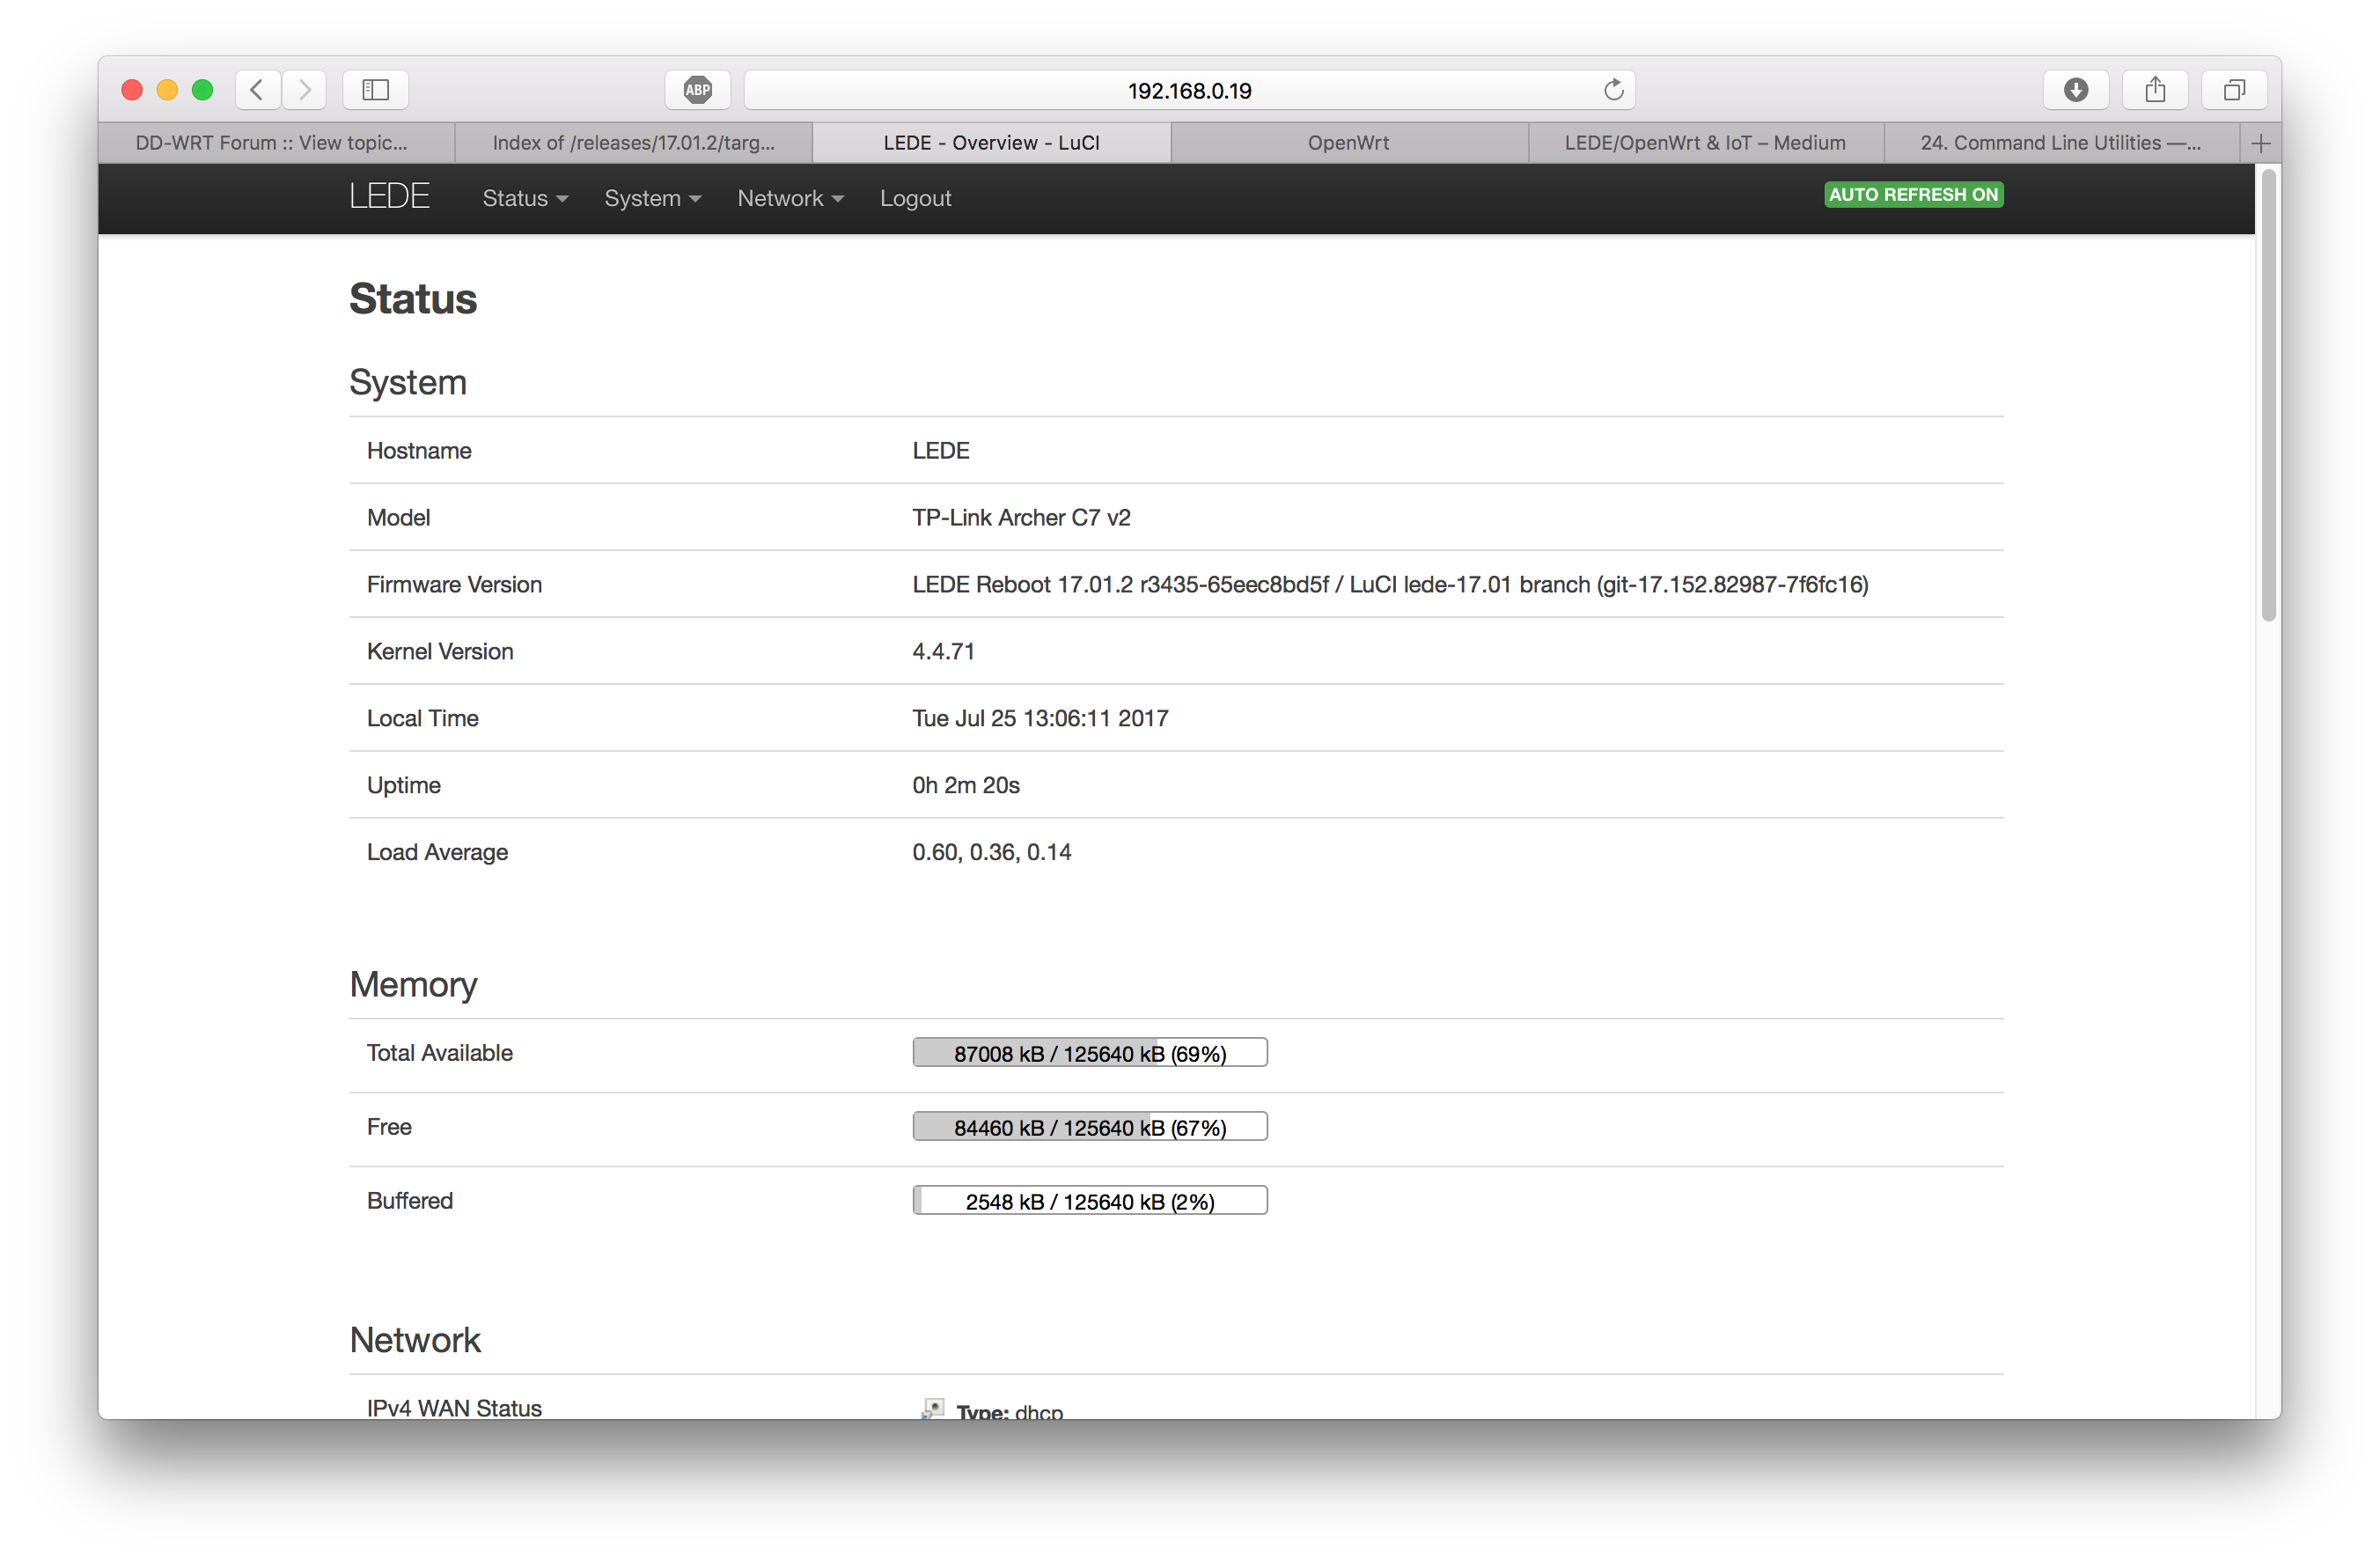
Finally, we have the latest LEDE firmware installed :)
Speed Test
I did a speedtest with iperf. I tested the speed between my MacBook (wireless) and my NAS (wired):
$ iperf -c freenas.local -t 60
------------------------------------------------------------
Client connecting to freenas.local, TCP port 5001
TCP window size:  129 KByte (default)
------------------------------------------------------------
[  7] local 192.168.0.11 port 54179 connected with 192.168.0.10 port 5001
[ ID] Interval       Transfer     Bandwidth
[  7]  0.0-60.0 sec  2.20 GBytes   314 Mbits/sec

